Counting Faces with AWS DeepLens and IoT Analytics
It's pretty easy to detect faces with AWS DeepLens. Amazon provides a pre-trained machine learning model for face detection so you won't have to deal with any low-level algorithms or training data. You just deploy the ML model and a Lambda function to your DeepLens device and it starts automatically sending data to the cloud.
In the cloud you can leverage AWS IoT and IoT Analytics to collect and process the data received from DeepLens. No programming is needed. All you need to do is orchestrate the services to work together and enter one SQL query that calculates daily averages of the faces seen.
Connecting DeepLens to the cloud
We'll assume that you have been able to obtain a DeepLens device. They are currently only being sold in the US, so if you live in another country, you may need to get creative.
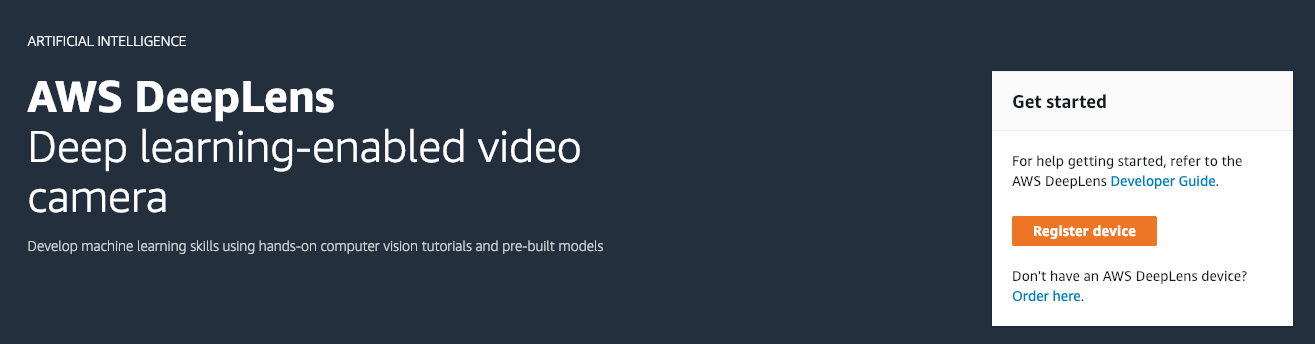
Before you can do anything with your DeepLens, you must connect it to the Amazon cloud. You can do this by opening the DeepLens service in AWS Console and following the instructions to register your device. We won't go through the details here since AWS already provides pretty good setup instructions.
Deploying a DeepLens project
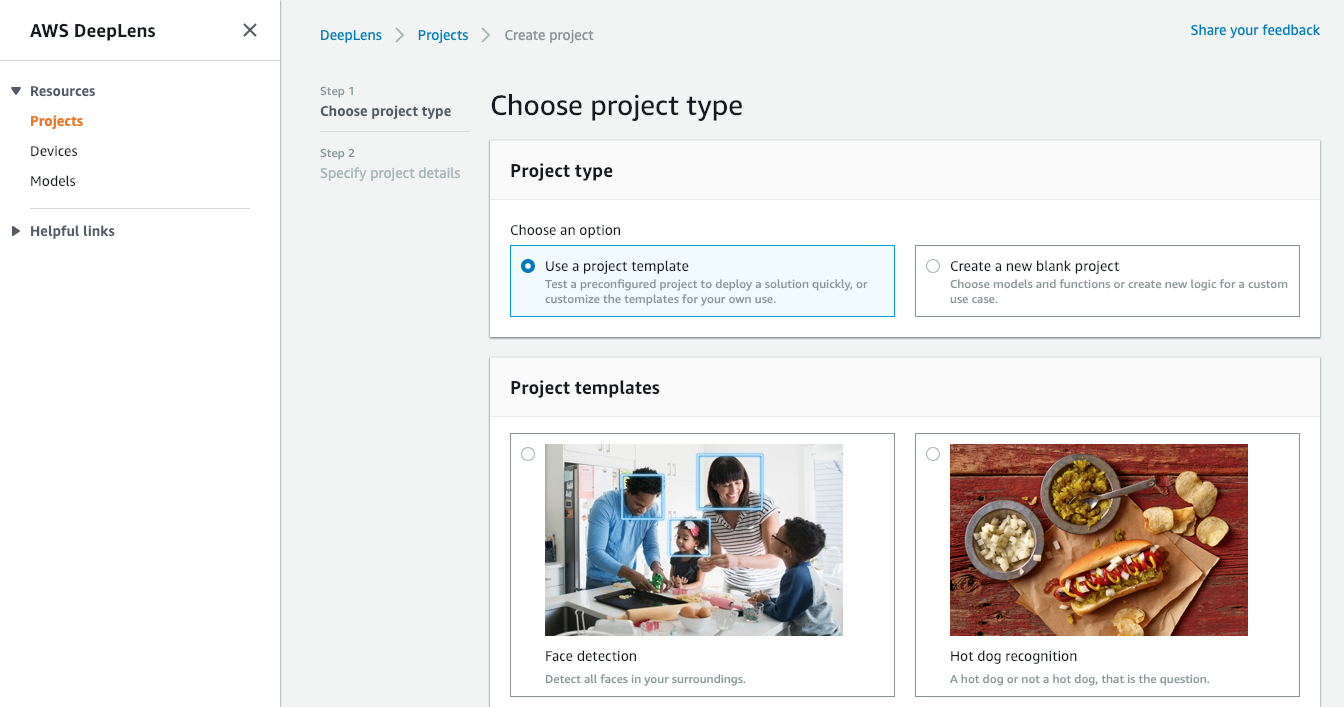
To deploy a machine learning application on DeepLens, you need to create a project. Amazon provides a sample project template for face detection. When you create a DeepLens project based on this template, AWS automatically creates a Lambda function and attaches the pre-trained face detection machine learning model to the project.
The default face detection model is based on MXNet. You can also import your own machine learning models developed with TensorFlow, Caffe and other deep learning frameworks. You'll be able to train these models with the AWS SageMaker service or using a custom solution. For now, you can just stick with the pre-trained model to get your first application running.
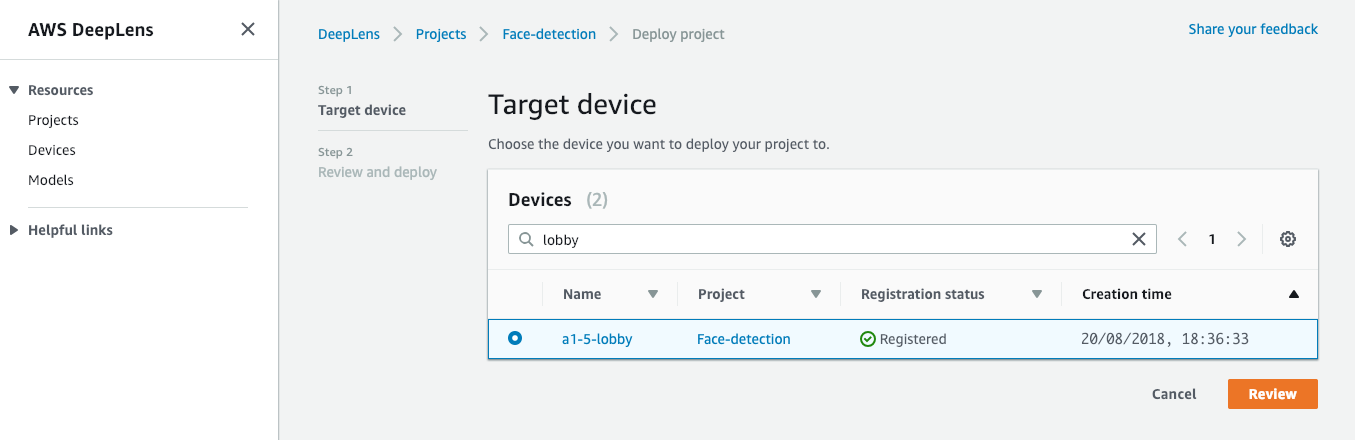
Once the project has been created, you can deploy it to your DeepLens device. DeepLens can run only one project at a time, so your device will be dedicated to running just one machine learning model and Lambda function continuously.
After a successful deployment, you will start receiving AWS IoT MQTT messages from the device. The sample application sends messages continuously, even if no faces are detected.
You probably want to optimize the Lambda function by adding an "if" clause to only send messages when one or more faces are actually detected. Otherwise you'll be sending empty data every second. This is fairly easy to change in the Python code, so we'll leave it as an exercise for the reader.
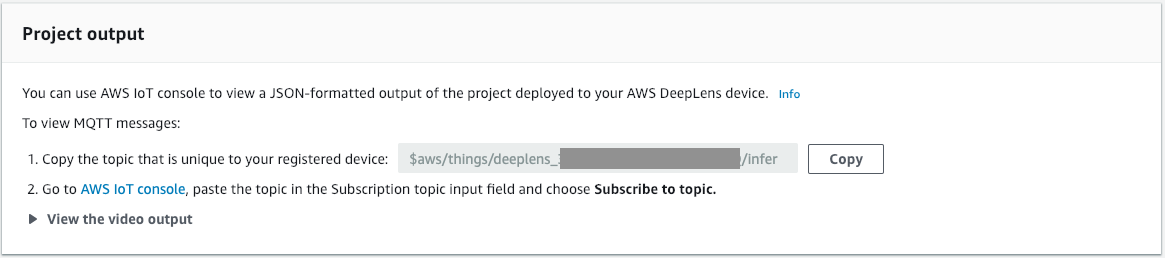
At this point, take note of your DeepLens infer topic. You can find the topic by going to the DeepLens Console and finding the Project Output view under your Device. Use the Copy button to copy it to your clipboard.
Setting up AWS IoT Analytics
You can now set up AWS IoT Analytics to process your application data. Keep in mind that because DeepLens currently only works in the North Virginia region (us-east-1), you also need to create your AWS IoT Analytics resources in this region.
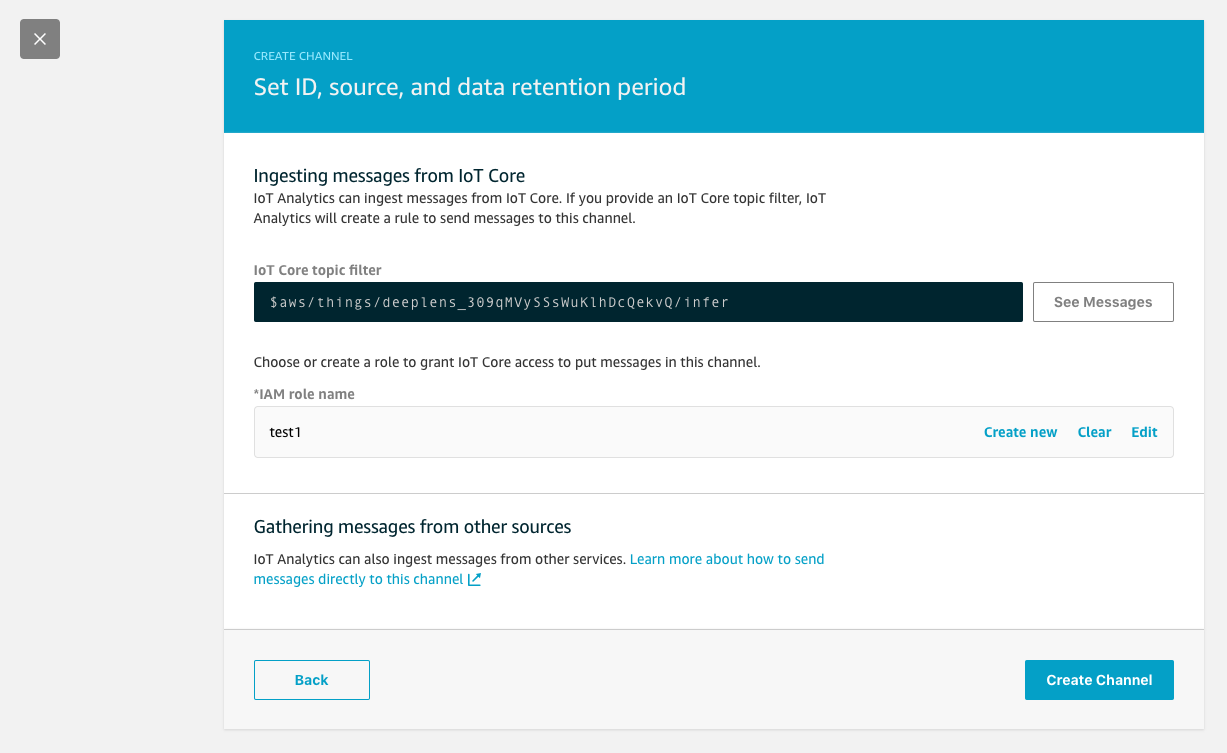
First you'll need to create a Channel. You can choose any Channel ID and keep most of the settings at their defaults.
When you're asked for the IoT Core topic filter, paste the topic you copied earlier from the Project Output view. Also, use the Create new IAM role button to automatically create the necessary role for this application.
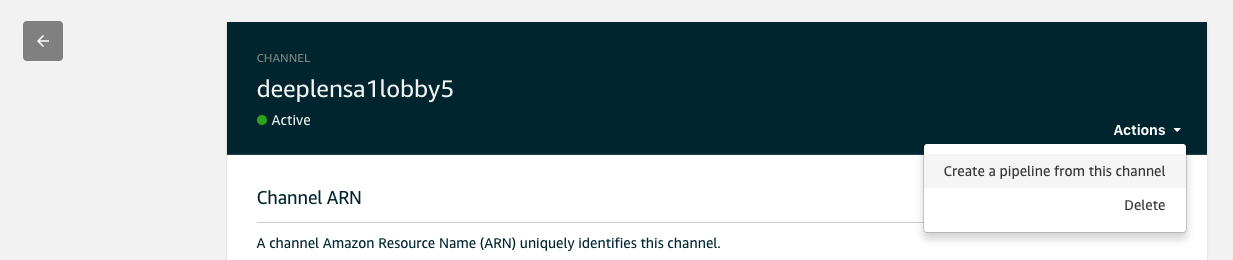
Next you'll create a Pipeline. Select the previously created Channel and choose Actions / Create a pipeline from this channel.
AWS Console will ask you to select some Attributes for the pipeline, but you can ignore them for now and leave the Pipeline activities empty. These activities can be used to preprocess messages before they enter the Data Store. For now, we just want to messages to be passed through as they are.
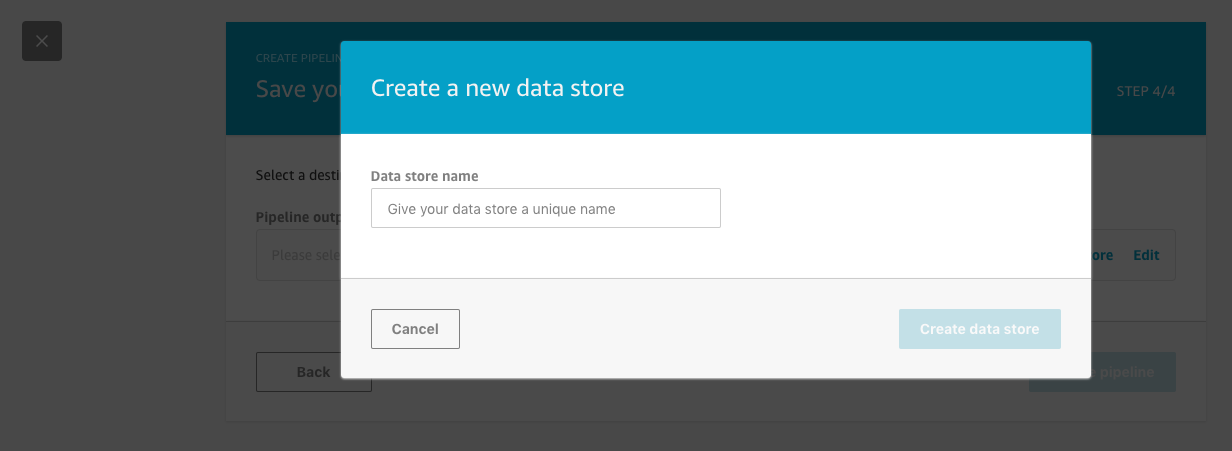
At the end of the pipeline creation, you'll be asked to create a Data Store to use as the pipeline's output. Go ahead and create it with the default settings and choose any name for it.
Once the Pipeline and the Data Store have been created, you will have a fully functional AWS IoT Analytics application. The Channel will start receiving incoming DeepLens messages from the IoT topic and sending them through the Pipeline to the Data Store.
The Data Store is basically a database that you can query using SQL. We will get back to that in a moment.
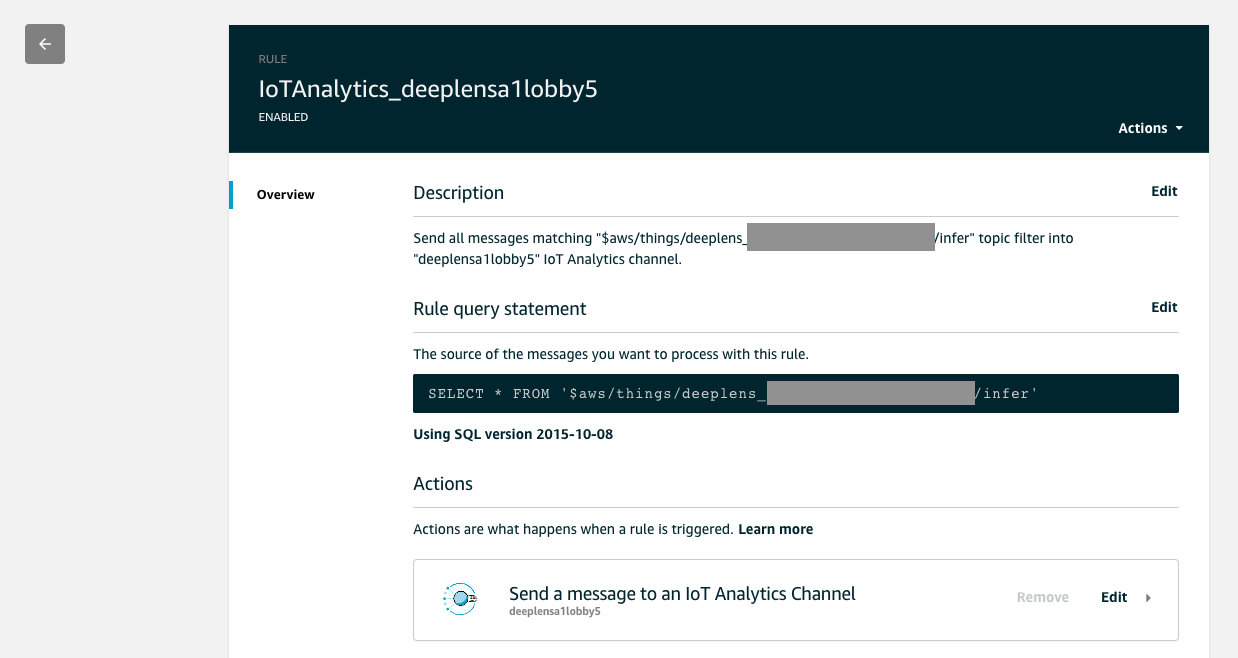
Reviewing the auto-created AWS IoT Rule
At this point it's a good idea to take a look at the AWS IoT Rule that AWS IoT Analytics created automatically for the Channel you created.
You will find IoT Rules in the AWS IoT Core Console under the Act tab. The rule will have one automatically created IoT Action, which forwards all messages to the IoT Analytics Channel you created.
Querying data with AWS IoT Analytics
You can now proceed to create a Data Set in IoT Analytics. The Data Set will execute a SQL query over the data in the Data Store you created earlier.
Find your way to the Analyze / Data sets section in the IoT Analytics Console. Select Create and then Create SQL.
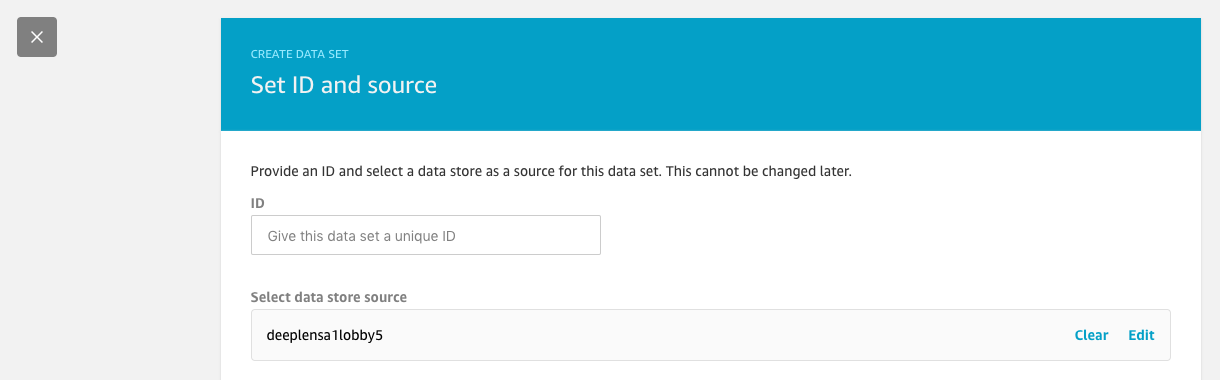
The console will ask you to enter an ID for the Data Set. You'll also need to select the Data Store you created earlier to use as the data source.
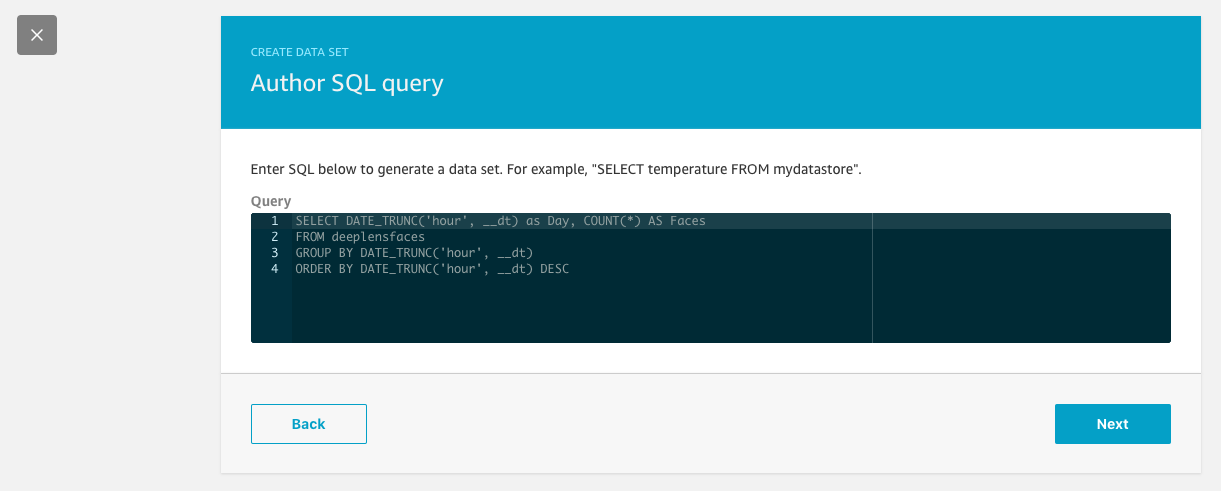
The console will then ask you to enter this SQL query:
SELECT DATE_TRUNC('day', __dt) as Day, COUNT(*) AS Faces
FROM deeplensfaces
GROUP BY DATE_TRUNC('day', __dt)
ORDER BY DATE_TRUNC('day', __dt) DESC
Note that "deeplensfaces" is the ID of the Data Source you created earlier. Make sure you use the same name consistently. Our screenshots may have different identifiers.
The Data selection window can be left to None.
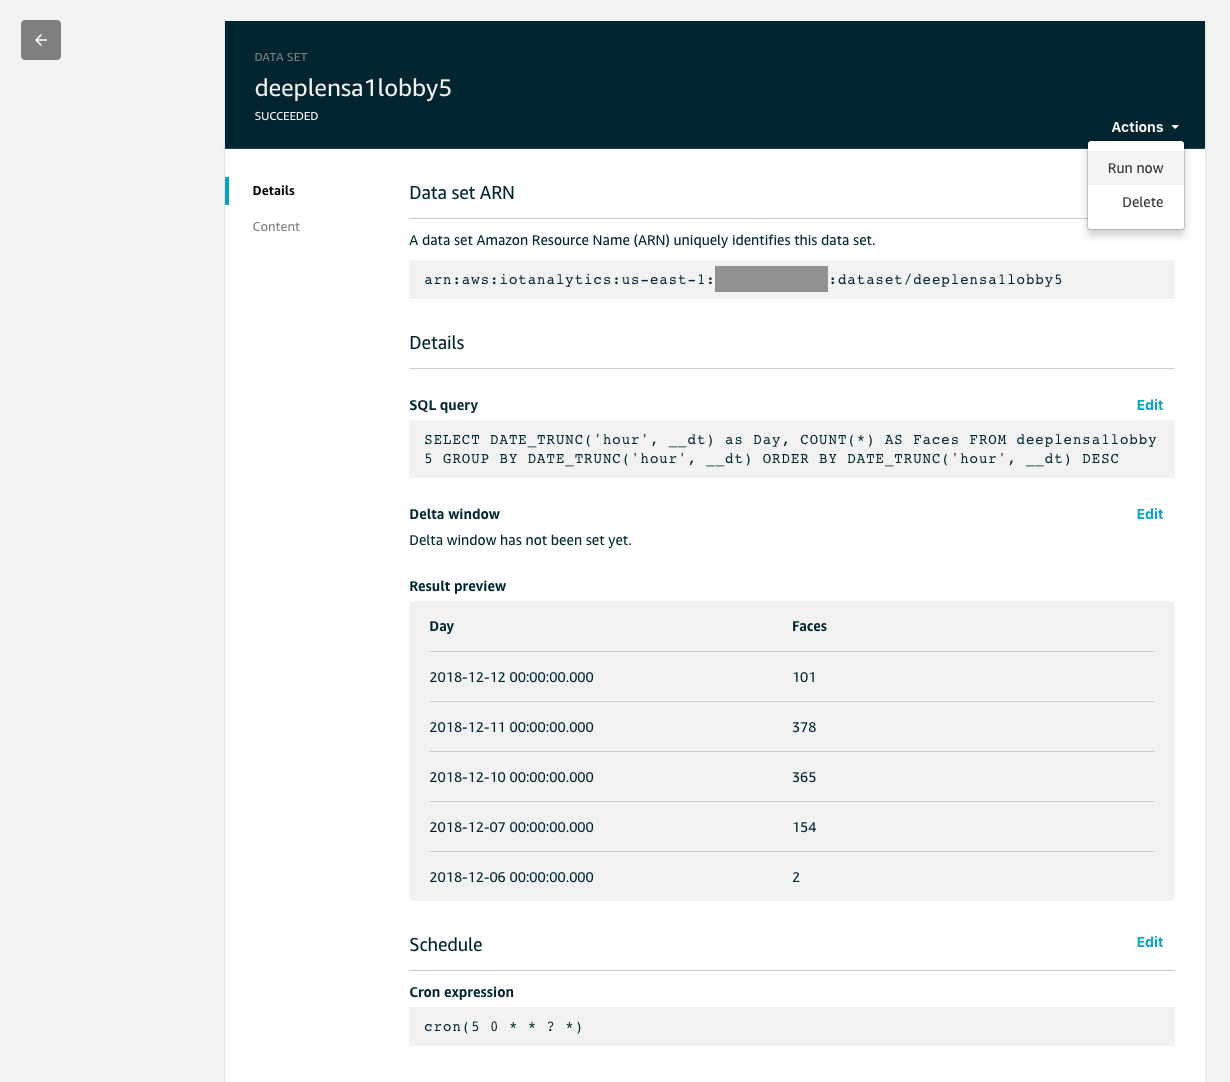
Use the Frequency setting to setup a schedule for your SQL query. Select Daily so that the SQL query will run automatically every day and replace the previous results in the Data Set.
Finally, use Actions / Run Now to execute the query. You will see a preview of the current face count results, aggregated as daily total sums. These results will be automatically updated every day according to the schedule you defined.
Accessing the Data Set from applications
Congratulations! You now have IoT Analytics all set up and it will automatically refresh the face counts every day.
To access the face counts from your own applications, you can write a Lambda function and use the AWS SDK to retrieve the current Data Set content. This example uses Node.js:
const AWS = require('aws-sdk')
const iotanalytics = new AWS.IoTAnalytics()
iotanalytics.getDatasetContent({
  datasetName: 'deeplensfaces',
}).promise().then(function (response) {
  // Download response.dataURI
})
The response contains a signed dataURI which points to the S3 bucket with the actual results in CSV format. Once you download the content, you can do whatever you wish with the CSV data.
Conclusion
This has been a brief look at how to use DeepLens and IoT Analytics to count the number of faces detected by the DeepLens camera.
There's still room for improvement. Amazon's default face detection model detects faces in every video frame, but it doesn't keep track whether the same face has already been seen in previous frames.
It gets a little more complicated to enhance the system to detect individual persons, or to keep track of faces entering and exiting frames. We'll leave all that as an exercise for now.
If you'd like some help in developing machine learning applications, please feel free to contact us.

Get in Touch.
Let’s discuss how we can help with your cloud journey. Our experts are standing by to talk about your migration, modernisation, development and skills challenges.
